Cut Out Image Retouching a Professional Handmade worker Team
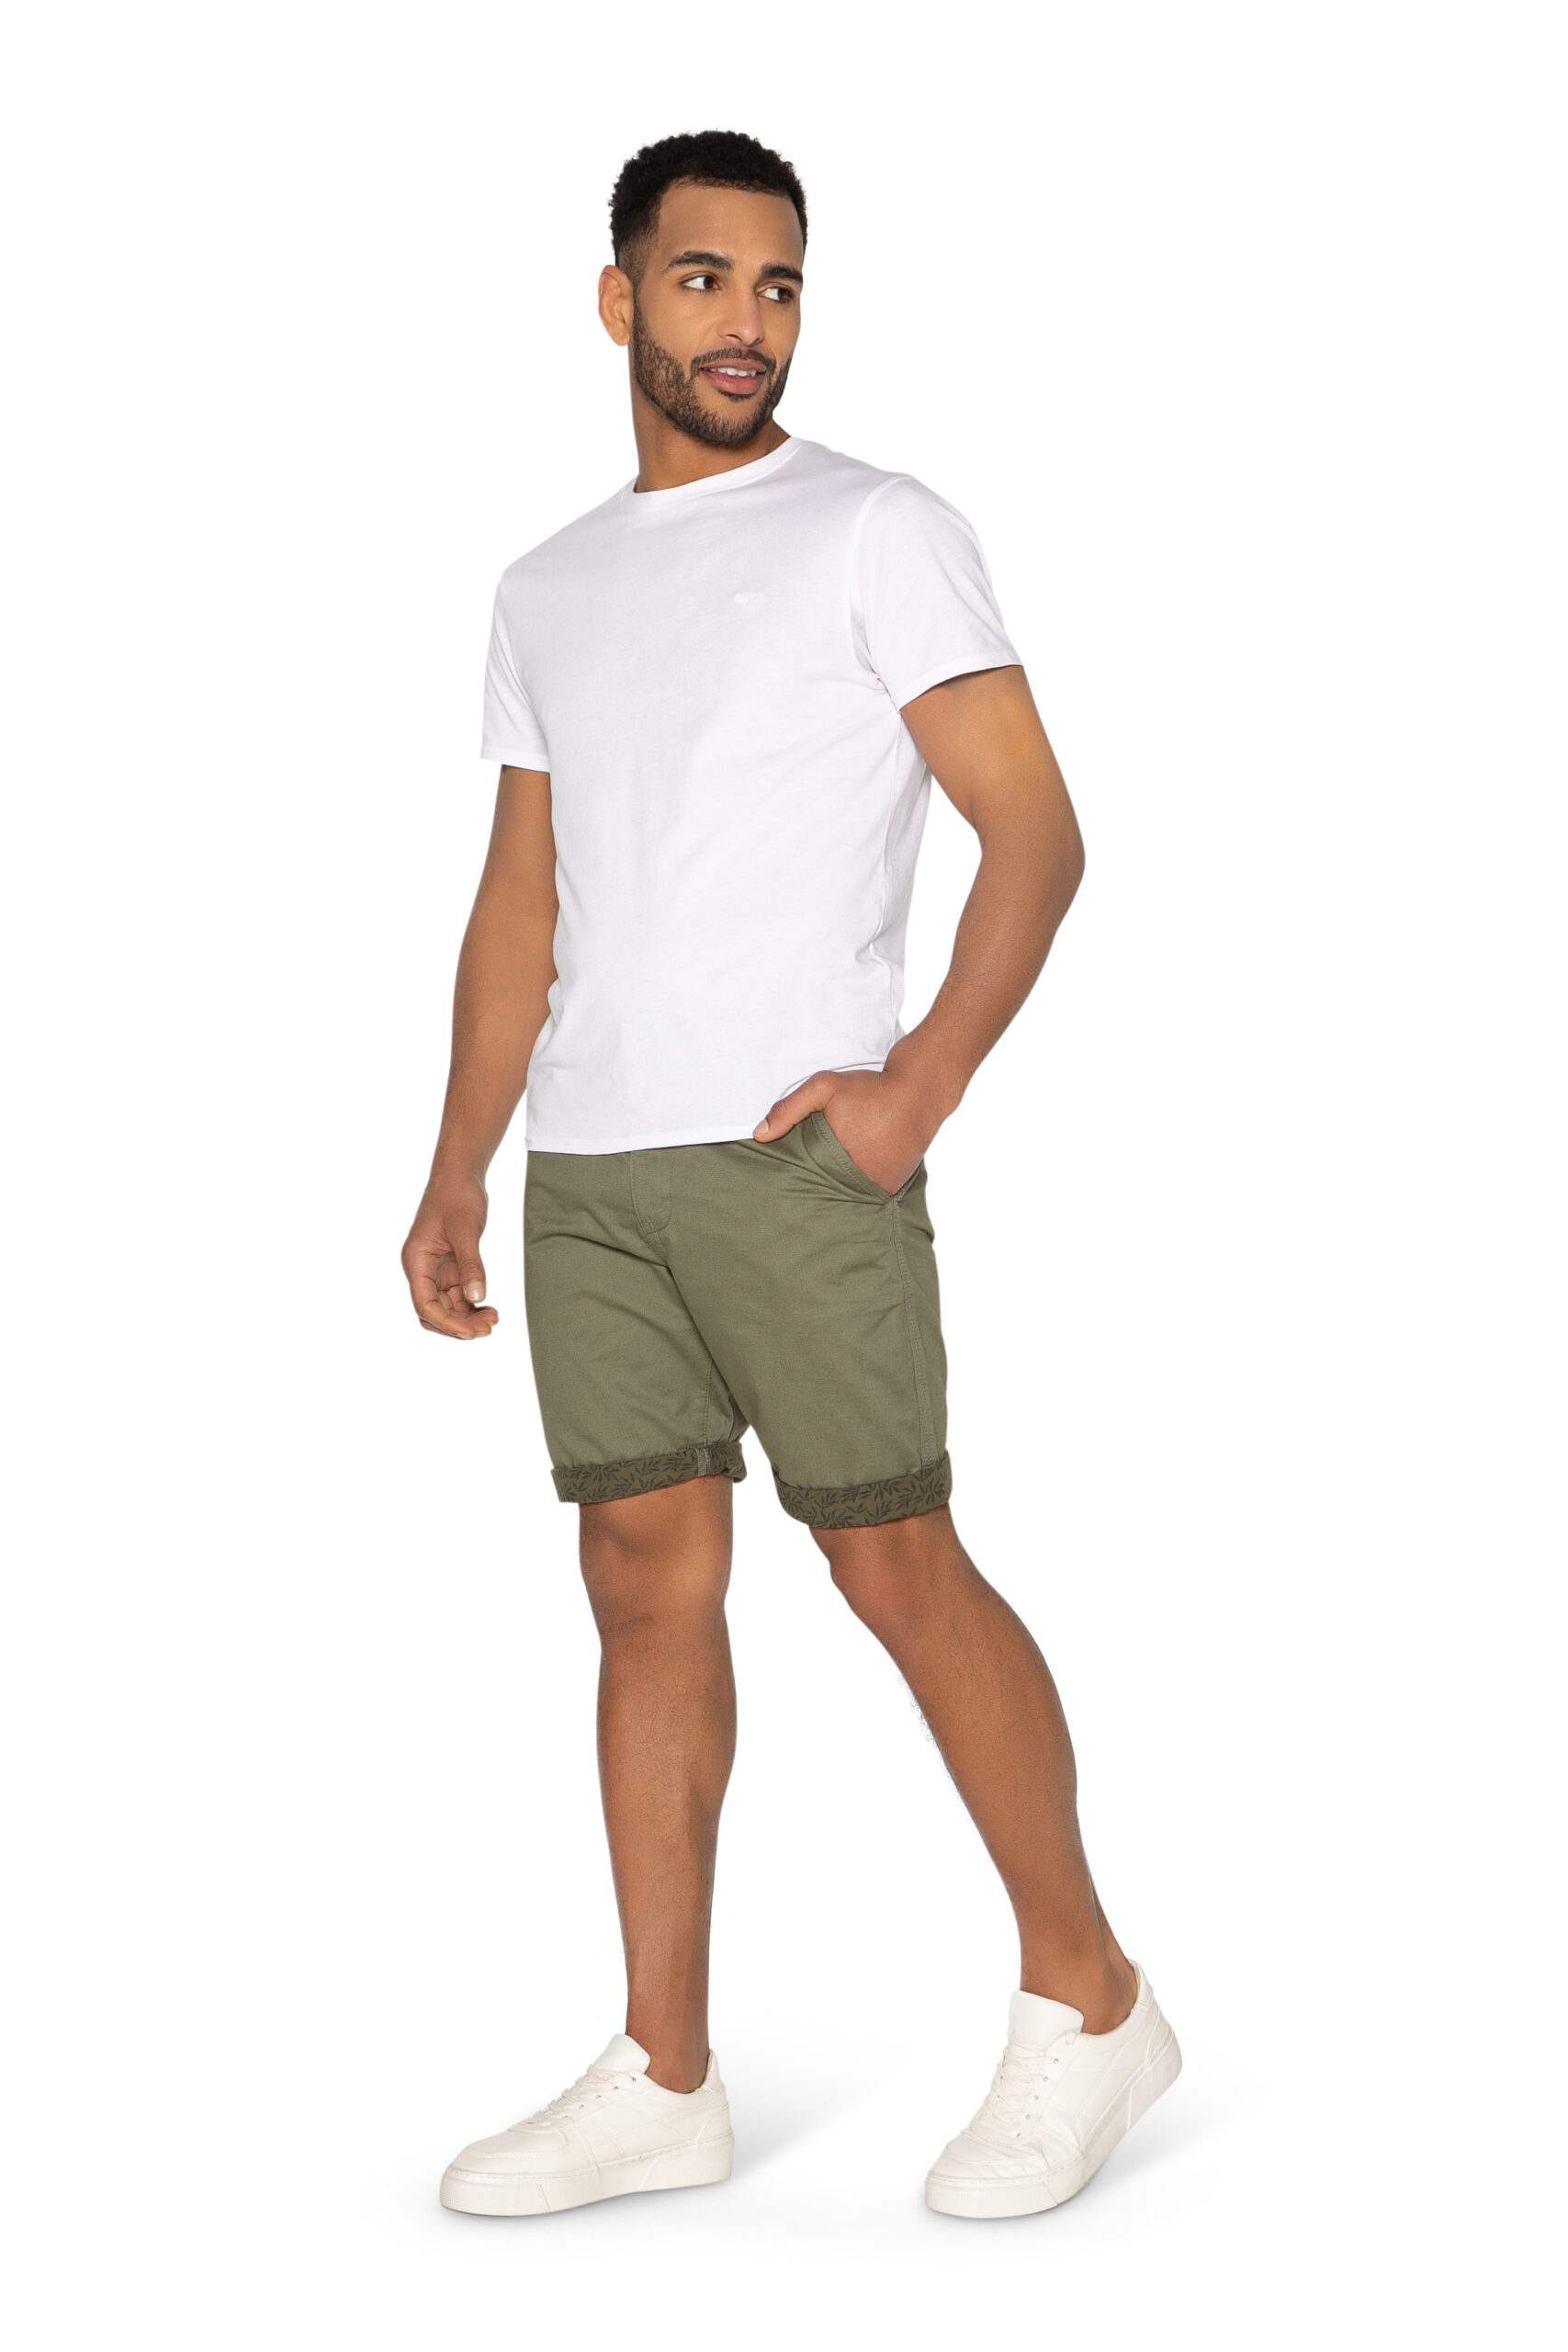
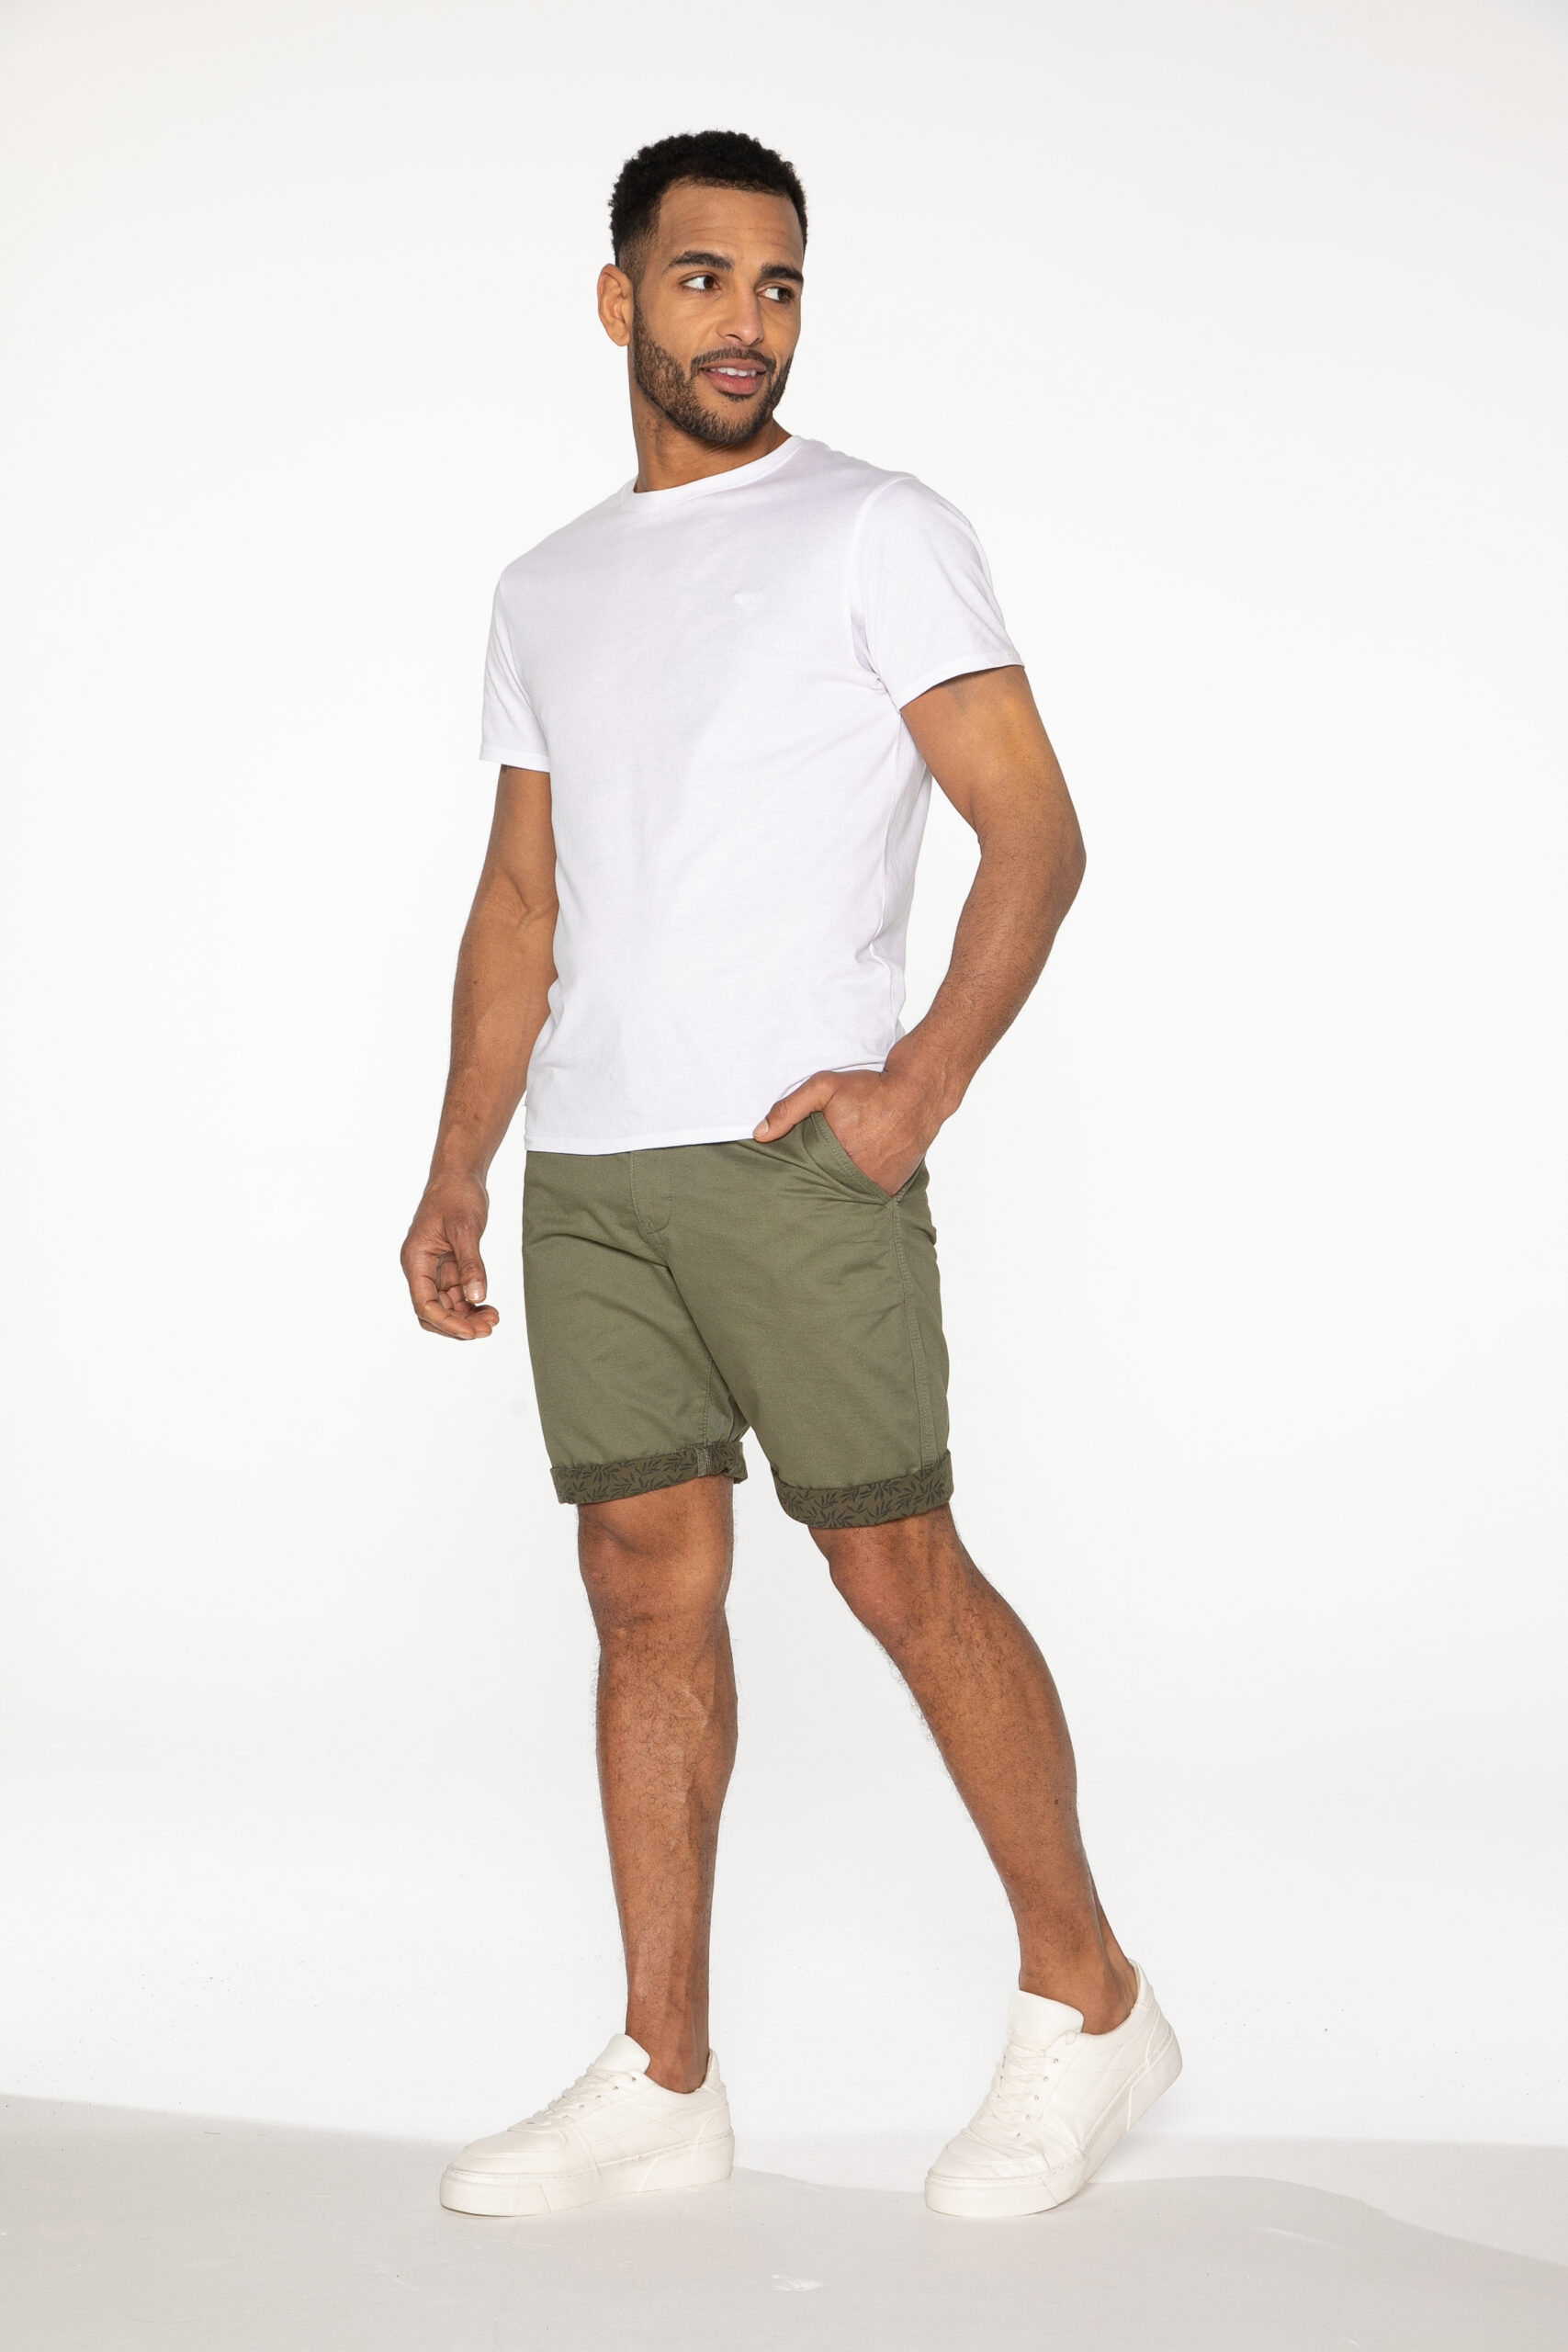
On-Model Photo Editing
On-Model Photo Editing — Perfectly Polished Fashion Images
High-quality on-model photography is crucial for fashion brands and e-commerce stores. Our On-Model Photo Editing Service ensures your model images look flawless, professional, and market-ready, enhancing clothing, accessories, and the overall presentation while keeping the model natural and authentic.
We focus on skin retouching, clothing enhancement, color correction, and background adjustment, creating images that capture attention and boost sales.


BASIC RETOUCHING
Basic Retouching Service — Clean, Polished & Professional Images
Every image deserves to look its best. Our Basic Retouching Service provides essential enhancements to improve your photos’ appearance while keeping them natural and realistic. Perfect for product images, portraits, e-commerce listings, and marketing visuals, this service is the foundation for professional-quality images.
We focus on color correction, minor blemish removal, exposure adjustment, and overall image enhancement to make your visuals clean, clear, and ready for use.


ADVANCED RETOUCHING
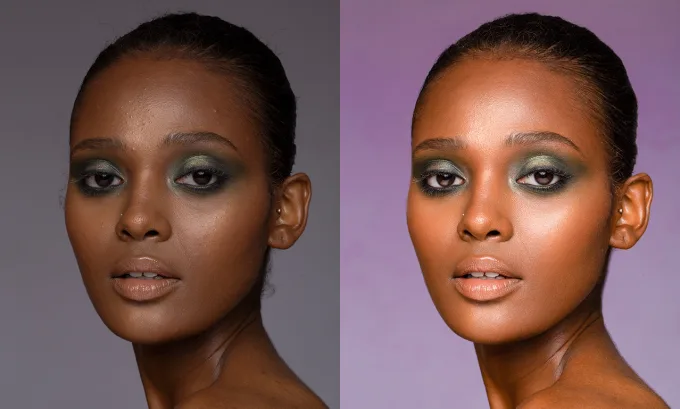
Advanced Retouching Service — High-End, Flawless Image Perfection
For brands, photographers, and e-commerce stores that demand luxury-grade visuals, our Advanced Retouching Service delivers high-end, meticulous enhancements. We focus on every detail—from skin, fabric, and metal textures to lighting, shadows, and reflections—to produce images that are perfectly polished, realistic, and visually striking.
Advanced retouching goes beyond basic edits, providing professional-level corrections and artistic enhancements for fashion, jewelry, portraits, product photography, and advertising campaigns.
BACKGROUND RETOUCHING
Background Retouching Service — Clean, Polished & Professional Images
A clean and flawless background is essential to make your products, models, or objects stand out. Our Background Retouching Service removes distractions, smooths surfaces, and enhances backgrounds to give your images a professional, high-quality appearance—perfect for e-commerce, catalogs, advertising, and branding.
We carefully retouch backgrounds while maintaining realism, depth, and harmony with the main subject, ensuring your images look polished and market-ready.
What Is Background Retouching?
Background retouching is the process of cleaning, enhancing, or replacing the background of an image. It involves removing unwanted elements, correcting lighting, smoothing imperfections, and creating a consistent, distraction-free environment that highlights the main subject.


FULL BODY RETOUCHING
High-quality full-body photography requires attention to proportions, posture, skin, clothing, and overall aesthetics. Our Full Body Retouching Service enhances your images while keeping the model natural, realistic, and visually appealing, making it perfect for fashion brands, e-commerce, portfolios, and advertising.
We focus on skin smoothing, body shaping, clothing adjustments, color correction, and background refinement, delivering polished results that captivate viewers and boost sales.
What Is Full Body Retouching?
Full body retouching is a professional photo editing process that enhances the entire subject in an image. Unlike basic retouching, it focuses on every detail of the model, clothing, and environment, ensuring a flawless and high-quality finish without over-editing.
Key areas include:
- Skin smoothing and blemish removal
- Body shaping and posture correction
- Clothing wrinkle removal and fit adjustment
- Hair, accessories, and jewelry refinement
- Color correction and lighting balance
- Background cleanup and enhancement
Contact
Write Us for More Information and Details
Cut Out Image Retouching is a leading provider, that offers image masking service, photo manipulation, drop shadow, mirror effect, photo retouching, conversion etc. services across the nations without any pause.
